
Welcome! Download our guide to Getting Started with PartnerOn.
Step 1: Log into your account
Step 2: Add your content channels
In order to receive your weekly episodes of vendor content, you will first need to add at least one content channel to your account. Your channel selections determine the content that you can share from your account dashboard and weekly digest.
The channels available to you may vary depending on your partner program. You can view all of our program options on the ContentMX home page.
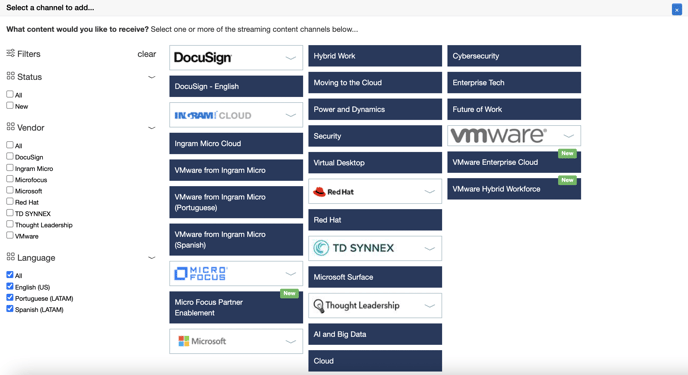
To view the content channels available to you through your partner program, click Add Channel in your left sidebar.

You will be presented with a menu of available channels. If you like, you can filter these channels by Status, Vendor, or Language.
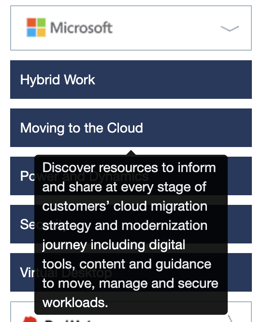
Hover over the name of a channel to preview its topic.
Click on a channel to add it to your account. The channel is immediately accessible from your dashboard.
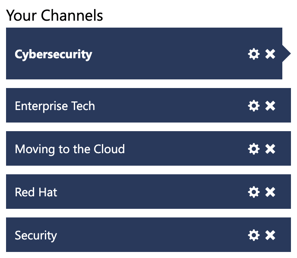
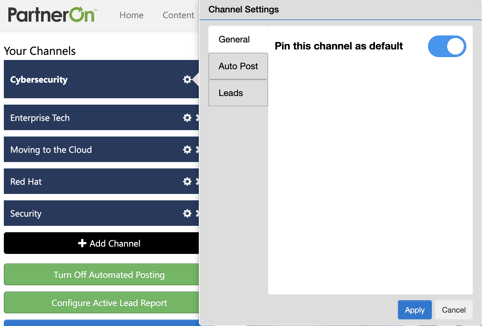
To pin a channel as your default, click on the cogwheel, navigate to the "General" tab, and then enable "Pin this channel as default". Each time you log in, you will immediately see your default channel's content on your dashboard.
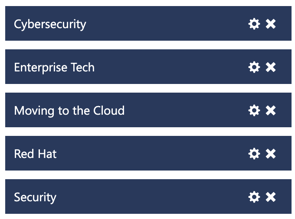
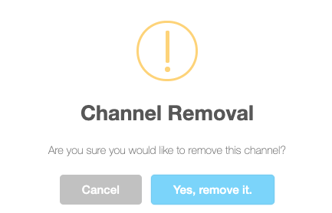
If you need to remove a channel, click on the "x." You will be asked to confirm your decision to delete the channel.
Step 3: Complete your Profile
If you didn't already fill out your profile information when you first logged in, make sure to add in your banner, logo, company information, and About Us information. This information will be automatically added to your content and used to brand your email templates and microsite.
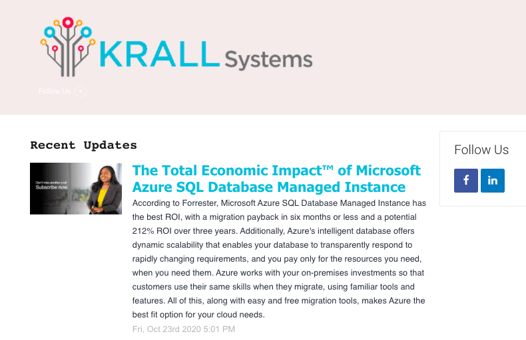
Upload your banner
Your banner will be featured at the top of your email templates and in other content, like Build Your List Items.
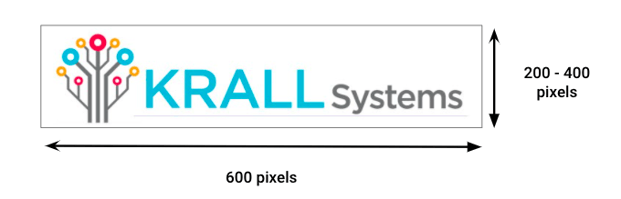
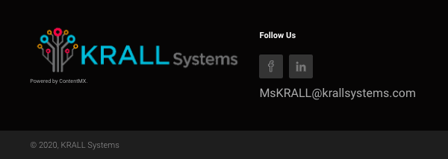
Upload your logo
Your logo will be used to brand your microsite. The logo that you upload will appear in the header and footer of your microsite. We recommend using a transparent PNG image for best results.
Header
Footer
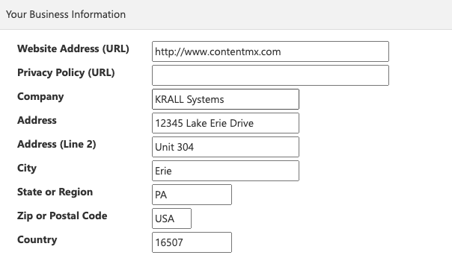
Add your business information
Make sure your leads know where to find you! Include your company name, physical address, website URL, and privacy policy URL.
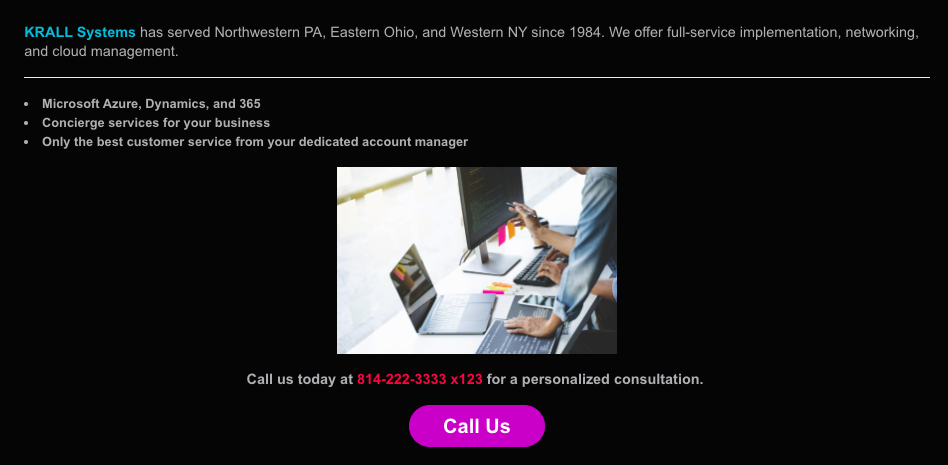
About Us information
Use our editing tools to create a custom About Us section, complete with hyperlinks, custom button calls to action, and images.

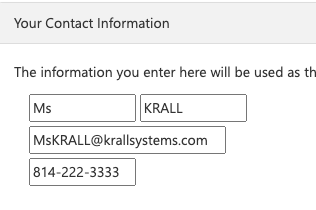
Your contact information
Add the name, email address, and phone number of your primary company contact. Note that the information provided here will also be your default sender when sending emails from your account.
Click Save at the bottom of the page to apply your changes.
Step 4: Connect your first network
Add your first social media, blog, microsite, or email network connection to begin sharing content.
Need some additional guidance? Check out more helpful articles here on the Knowledge Base, or meet with your Client Success Manager.