This method works for website hosting platforms like Wix, Squarespace, Weebly, and many others. If you use WordPress, please review this article to learn how to directly integrate with your WordPress site.
When you embed your microsite into your existing website, you are creating an effortless blog feature. An embedded microsite works well with automated posting for a streamlined content sharing experience.
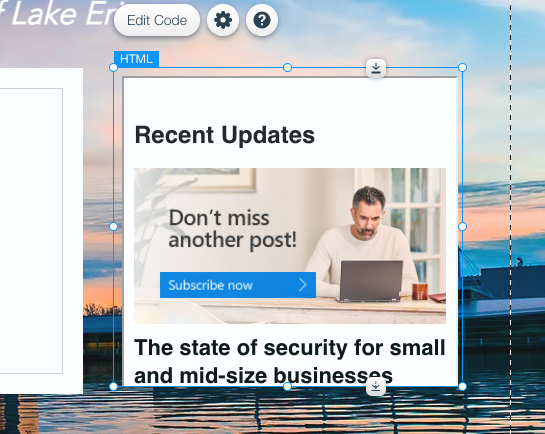
The end product will appear like this: a customizable, scrolling feed of marketing and sales enablement content.
For best results, set up your microsite and share at least a few pieces of content to your microsite before following the steps below. To learn more about your microsite, watch powered by PartnerOn: Optimizing Your Microsite.
How to embed your microsite into your website
Step 1: Navigate to Manage Networks, and click into your microsite connection.

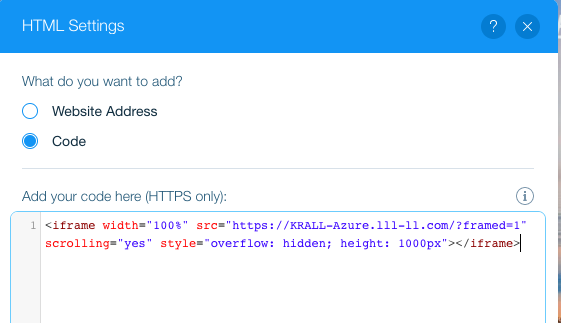
Step 2: Copy the iframe code on your microsite connection page

Step 3: Open a new tab and navigate to your website or blog builder (Wix, Weebly, Squarespace, etc.). The process might be slightly different depending on your website platform, but generally you will add a block called “Custom Code” or “Custom HTML.”
The examples shown below are on Wix.com.
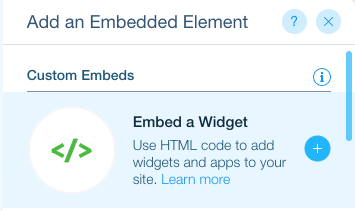
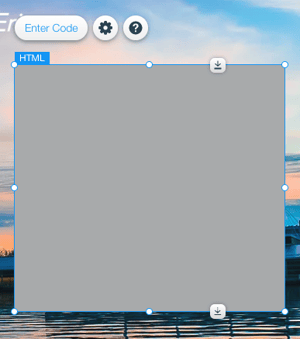
Add your block where you would like the microsite to be embedded, and paste your iframe code into the block.
You will see your microsite content populate once you insert your iframe code. When you add content to your microsite, it will also immediately appear wherever your microsite has been embedded.