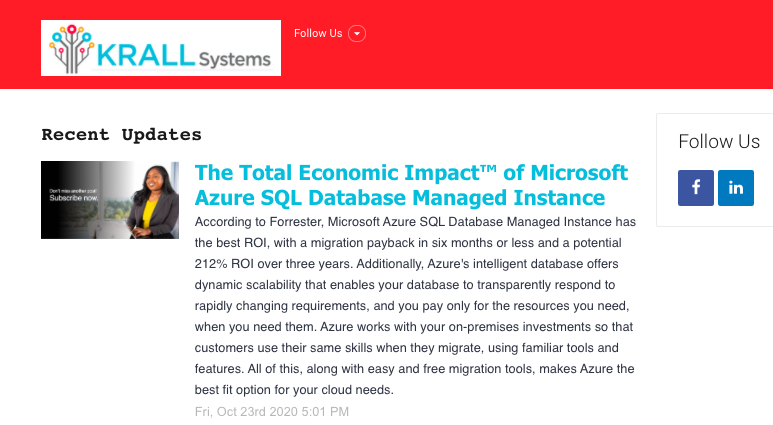
Your account comes with a landing page called a “microsite.” Your microsite is highly customizable, and can be used as a blog, resource page, or a contact page for your sales team.
Your microsite can also be embedded onto most websites, creating an instant blog filled with quality content.
Looking for a video all about microsite best practices? Check out powered by PartnerOn: Optimizing your Microsite!
How to set up your microsite
Log in to your account and scroll down the page to Network Connections.
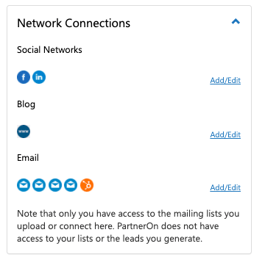
Click Add/Edit next to “Blog.”
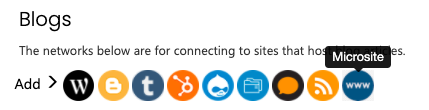
Under “Blogs,” click on the last icon in the list. The microsite icon is blue with “www” written in white.
On the next page, name your microsite network. Scroll to the bottom and click “Save.” You can now post any Share This item from your channels, to your microsite.

You can find your microsite URL under Network Connections on your dashboard. Change the first part of your microsite URL by clicking the edit pencil. Remember to save!
Personalize your microsite
To add logos and company contact information to your microsite, go to your dashboard and select Modify Profile (the blue button in your left sidebar).
For the microsite, make sure to upload a small-to-medium version of your logo. This logo will be added to the header and footer of your microsite.
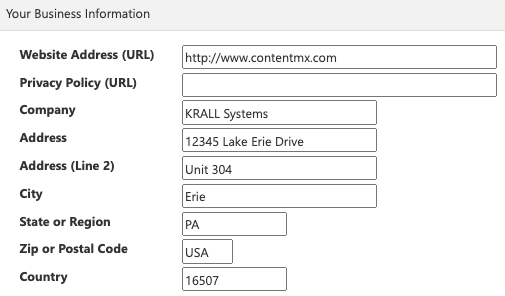
Add your company name, location, and website URL.
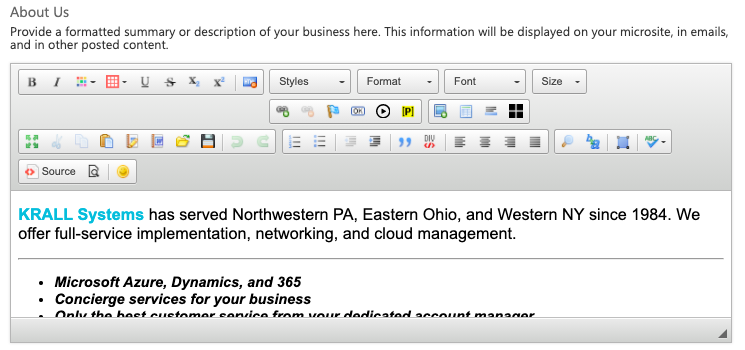
Use the About Us section to tell potential clients about your company’s story and the products and services you offer. Add in hyperlinks, custom calls-to-action, and images to engage your audience.
Under Your Contact Information, enter the information for your main client-facing contact. The email address entered here will be included in the footer of your microsite.
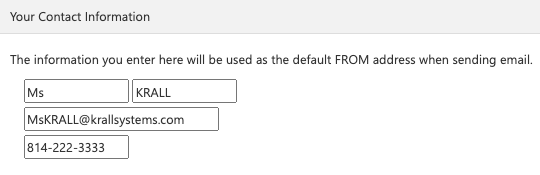
Remember to click Save at the bottom of the page.
Share content to your microsite
You can choose to share individual assets to your microsite, or include the microsite network in automated posting.
Share a single piece of content
Click into any of your content channels. Select a Share This item, and click Share This.
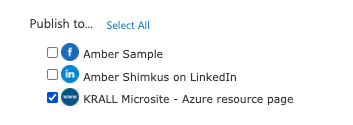
Under Publish To, you will see all of your connected social and blog networks, including your microsite. Select your microsite (and any other desired networks) and click post to share the asset.
Share content with automated posting
Automated posting is perfect for a small (or busy) marketing team. With automated posting, your PartnerOn account will automatically post content from your selected channels to all of your social and blog networks.
Your newest week of content is scheduled for you every Monday. It doesn’t get much easier than that!
Turn on automated posting by clicking the orange button on your dashboard. Use the toggle to enable automated posting.

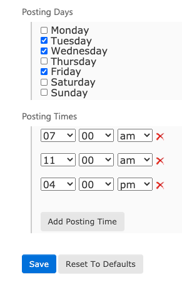
Manage your automatic schedule from your settings tab. Select the days and times when you would like a new content item to be posted, and click Save.