Your account can be connected to Dynamics 365 as a method for transferring leads and contacts. The information can flow in two ways:
Collect and Pass New Leads or Contacts to a Dynamics 365 Campaign or List
Contacts collected by Build Your List content can be assigned to Dynamics 365 campaigns or marketing lists as Leads or Contacts. You choose to assign Leads or Contacts to a specific campaign, or automatically create a new campaign for each Build Your List Item.
Import Contacts from a Dynamics 365 Campaign
Leads or Contacts associated with a particular Dynamics 365 campaign can be imported into your account and synchronized with your email lists.
Creating a Dynamics 365 Network Connection
To get started, create a network connection between your account and Dynamics 365. This defines how the leads you collect from Build Your List items and other lead forms will be passed into Dynamics 365 and associated with your Dynamics 365 Campaigns.
Step 1: Connect your Dynamics 365 account
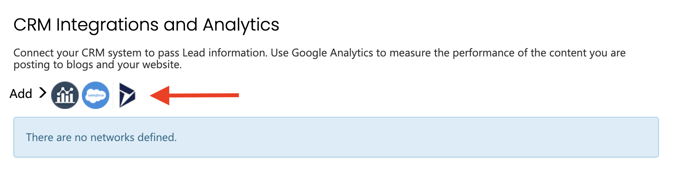
To create your Dynamics 365 connection, go to Manage Networks and click the Dynamics 365 icon under “CRM Integrations and Analytics."
Then, enter your Dynamics 365 URL, which is the web address of your Dynamics 365 instance. To obtain this URL, simply sign in to your Dynamics 365 account and then copy and paste the URL found at the top of the browser.
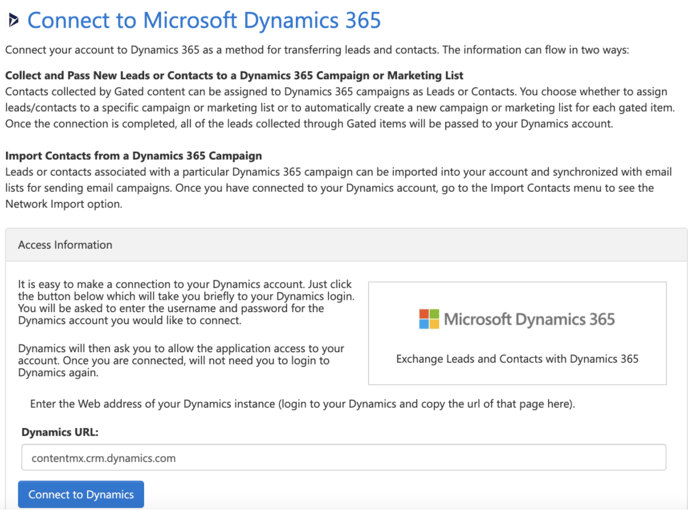
Once you have entered your Dynamics 365 URL, click Connect to Dynamics. You will then be asked to sign in to your Dynamics 365 account so that you can authorize the connection.
Step 2: Choose Lead or Contact
When leads from Build Your List items and other lead forms are passed into Dynamics 365, you can determine whether they will be added or updated as a new Lead record or as a new Contact record in Dynamics. Select the most appropriate option for how you are using Dynamics 365. 
Step 3: Assign to a Campaign
When leads or contacts are passed to Dynamics 365, you can assign them to a specific campaign, or you can dynamically create new campaigns based on the Build Your List item that generated the lead.
Option 1: Assign to a Named Campaign
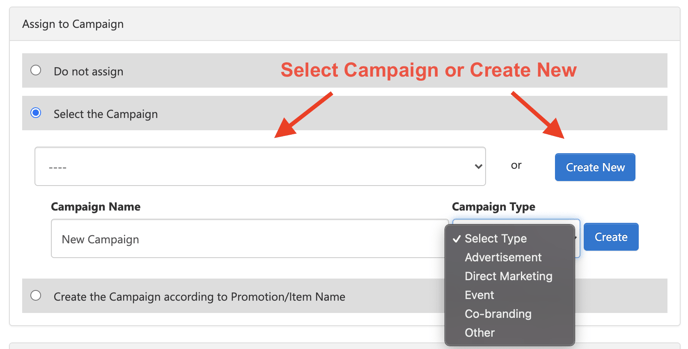
A specific campaign can be assigned to all of the leads or contacts that are collected from your Build Your List items. This same campaign will be assigned to every new record.
Choose the Select the Campaign radio button. Then, choose from the list of existing campaigns or click Create New to enter a new campaign name, and select a campaign type.
Option 2: Create a Campaign from the Item Title
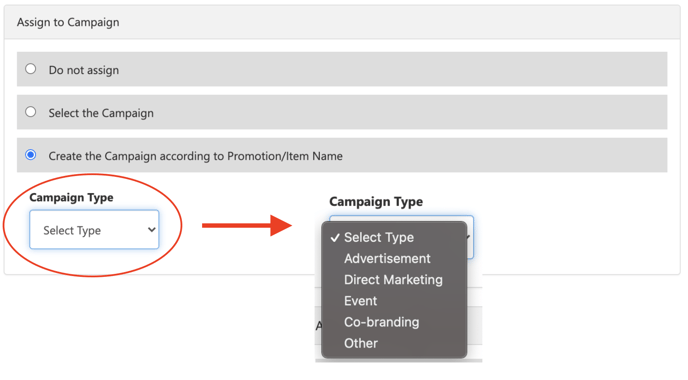
Select Create the Campaign according to Promotion/Item Name to have the system automatically generate a new campaign name for each Build Your List item.
Then, specify the type of campaign to be created.
Step 4: Assign to a Marketing List
When leads or contacts are passed to Dynamics 365, you can also assign them to a specific Marketing List, or you can dynamically create a new Marketing List based on the Build Your List item.
Option 1: Assign to a Named Marketing List
A specific Marketing List can be assigned to all of the leads or contacts that are collected. This same list will be assigned to every new record.
Choose the Select the List radio button. Then, select an existing Marketing List from the dropdown, or click Create New to enter a new Marketing List name and associate this list with a campaign.
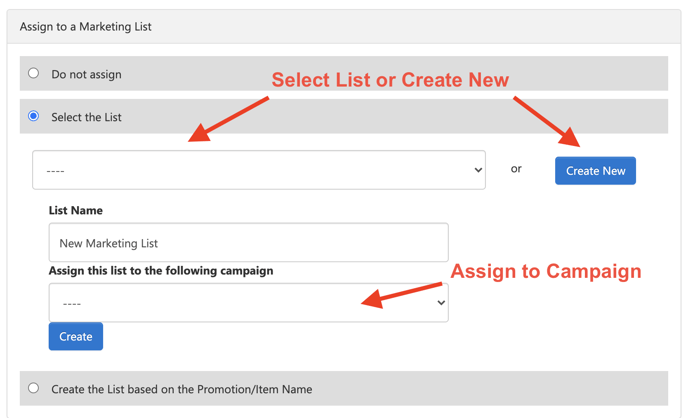
Option 2: Create a Marketing List from the Item Title
Select Create the List based on the Promotion/Item Name to have the system automatically generate a new Marketing List for each Build Your List item.
Specify an existing campaign from your Dynamics 365 account. This will assign the Marketing List to your existing campaign.

Step 5: Map the Fields
Finally, map the fields from the contact records that are collected in your account to the contact or lead records in Dynamics 365. The fields listed in each dropdown list are the fields available in your Dynamics 365 instance.

Importing Contacts and Leads to a List
In addition to sending contacts and leads to Dynamics 365, you can also import contacts or leads from Dynamics 365 and add them to a specified email network in your account.
To import contacts from Dynamics 365:
1. Select Contacts > Import Contacts from the menu.
2. Choose the Email Network from the dropdown where you want the Dynamics 365 leads or contacts to appear. To replace the entire list, choose the “Replace List” check box.
3. Select the Network Import option as an Import Method to see your Dynamics 365 network connection.
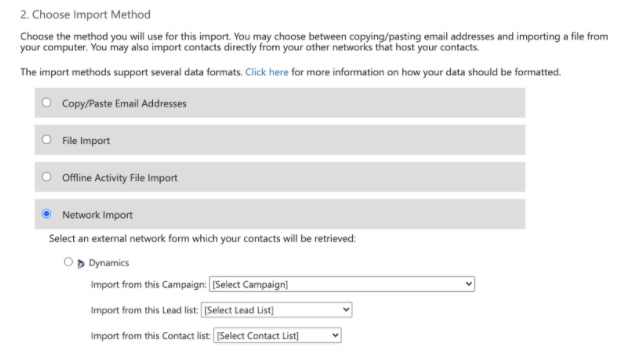
5. Choose the level of opt-in permission you have for these contacts (Unknown, Implied or Express) and click Submit Import when you are ready to proceed. As a final step, you will be prompted to map your fields.