Sometimes, you might need to save your work to continue editing later, or get a second opinion from a colleague before sharing a content item with your entire network.
You can save any Share This or Email This content item as a draft. In your account, we call drafts "pending" content.
How to save your content item as a draft
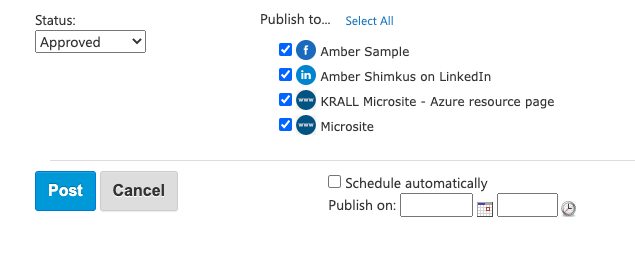
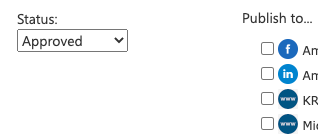
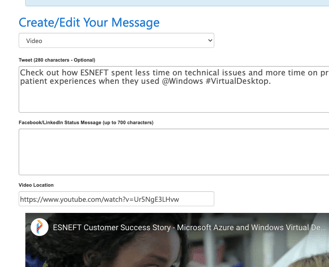
In the Create/Edit your Message menu for any Share This or Email This item, locate the status box.
The status box has three options: Approved, Not Approved, and Pending.
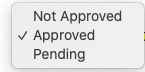
Approved is the default status of all posts. When an item has an approved status, it will be shared out to all selected networks when you click Post.
Not Approved will save the item to Scheduled and Pending Content until further notice, without sharing the item to any networks. The Not Approved item will be highlighted in yellow to differentiate it from regularly scheduled posts.

Some PartnerOn users have limited permissions when it comes to viewing and posting content. Posts prepared by these users will be Not Approved as a default, and require a user with full permission to approve the post.
Pending will save the item to Scheduled and Pending Content until further notice, without sharing the item to any networks. The Pending item will be highlighted in blue in Scheduled and Pending content.

To save your item as a draft, select Pending in the status box and click Post at the bottom of the page.
You will also receive reminder notifications to your email address when you have an item marked as Pending. To determine which email address receives reminder notifications, visit My Profile and add the desired email under Additional Settings.

How to edit and send your draft
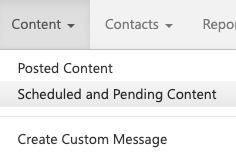
Go to Content > Scheduled and Pending Content.
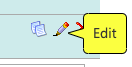
Find the content item you would like to edit and send. Click on the pen icon on the right side of the entry.
Make any additional changes to your messaging, and make sure to review before sending.
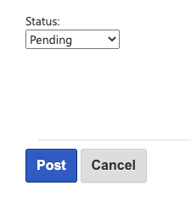
Change the status from Pending to Approved; select where to send the item; and post the item or schedule it to be shared later.