Your account can be connected to your Zoho CRM as a method for transferring leads and contacts. The information can flow in two ways:
1. Collect and Pass new Leads (or Contacts) to a Zoho Contact List
Contacts collected by Build Your List content and other lead forms can be assigned to Zoho contact or marketing lists as Leads (or Contacts). You choose to assign Leads (or Contacts) to a specific list or automatically create a new list for each Build Your List Item.
2. Import Contacts from a Zoho Contact List
Leads (or Contacts) associated with a particular Zoho contact list can be imported into your account and synchronized with your email lists.
Creating a Zoho CRM Network Connection
To get started, create a network connection between your account and your Zoho CRM. This defines how the leads you collect from Build Your List items and other lead forms will be passed into Zoho and associated with your Zoho contact lists.
Step 1: Connect your Zoho CRM:
To create your Zoho connection, go to Manage Networks. Click on the gear icon on the upper right-hand corner in the menu bar.

Then, click the Zoho icon under “CRM Integrations and Analytics."

Then, press “Connect to Zoho”

You will then be prompted to grant permissions for ContentMX to access information from your Zoho CRM. Click “Accept” to continue.

Step 2: You can choose to save the contact record as either a Lead or a Contact:

Step 3: Assign the Contact/Lead to a Campaign
When leads or contacts are passed to Zoho, you can assign them to a specific campaign, or you can dynamically create new campaigns based on the Build Your List item that generated the lead.

Option 1: Assign to a Named Campaign
A specific campaign can be assigned to all of the leads or contacts that are collected from your account. This same campaign will be assigned to every new record. Use this option if you do not want to create a new campaign for each Build Your List item you publish.
Choose the Select the Campaign radio button. Then, choose from the list of existing campaigns in your Zoho instance or click the Create New button to create a new campaign in Zoho. Select a campaign type, and click Create.


Option 2: Create a Campaign from the Item Title
Select Create the Campaign according to Promotion/Item Name to have the system automatically generate a new campaign name for each Build Your List item. Use the “Custom Type” to create a custom campaign type. Using this option you can better associate the content you publish with the leads it is generating. You can then view in Zoho all of the campaigns associated with a particular Lead or Contact to see what content they are most interested in receiving.

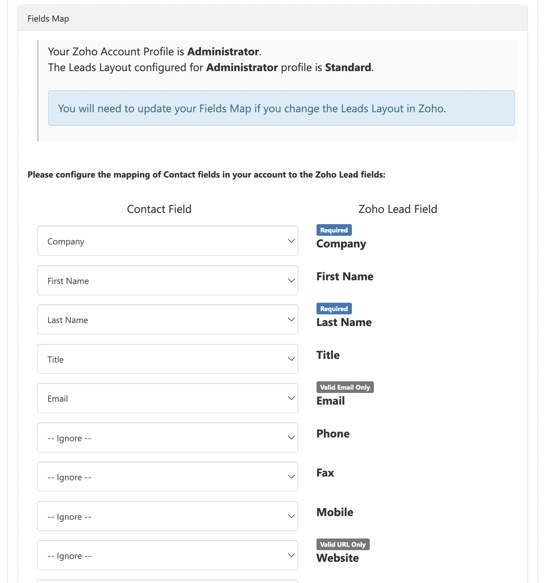
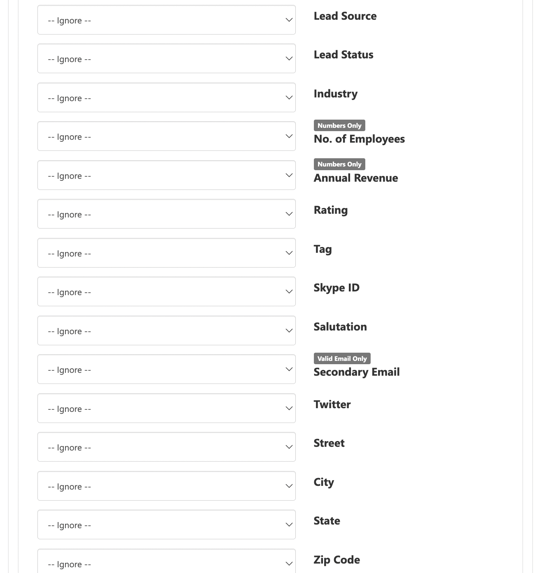
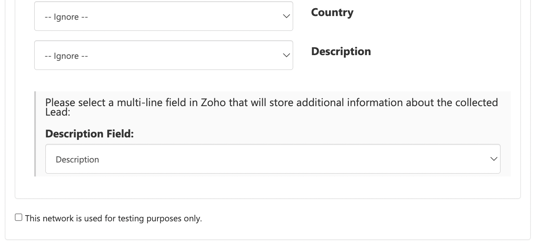
Step 4: Mapping the fields
Finally, map the fields from the contact records that are collected in your account to the Contact or Lead records in Zoho. The fields listed in each drop-down list are the fields available in the platform. The fields on the right are pulled from your Zoho instance. Anything marked with a blue “Required” tag is required when mapping your fields from Zoho to the platform.
Tip: You will need to update your Fields Map if you change the Leads Layout in Zoho.
Step 5: Enter a name for your Network, and remember to click “Save” at the bottom of the page.

Importing Contacts and Leads to a List
In addition to sending contacts and leads to Zoho, you can import contacts or leads from Zoho and add them to a specified email network in your account.
Step 1: To import contacts from Zoho, Select Contacts > Import Contacts from the menu.

Step 2: Choose the Email Network from the dropdown where you want the Zoho leads or contacts to appear. To replace the entire list, choose the “Replace List” check box.

Step 3: Select the Network Import option as an Import Method to see your Zoho network connection.

Step 4: Choose the type of records you would like to import (Leads, Contacts, or both) and the Zoho campaign from which they originate.

Step 5: Choose the level of opt-in permission. You can assign these contacts as having Unknown, Implied, or Express permissions. Click Submit Import when you are ready to proceed.

As a final step, you will be prompted to map your fields.

Once these steps are complete, the import operation will be run. This will operate the same as if you used the other import options, like copy and paste or uploading a CSV file.
If you have any further questions or feedback, please reach out to support@contentmx.com!