You must have a HubSpot Marketing Hub account to create and send emails from HubSpot.
Make sure that you set up a default footer in HubSpot with options for your contacts to unsubscribe from your emails. You can configure this in HubSpot in Settings > Marketing > Email.
If you have questions about your HubSpot account, please contact their support team.
While our platform does not directly integrate with HubSpot Email at this time, it's easy to send yourself a prepared email template and recreate it in HubSpot.
Create your HubSpot network connection
Log into your ContentMX account using your unique username and password
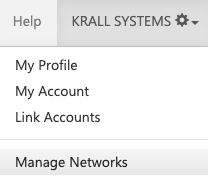
From your settings tab, click Manage Networks
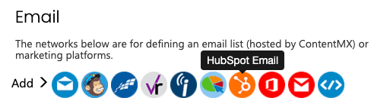
Under Email, click the HubSpot icon.
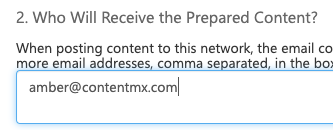
To set up your HubSpot email connection, enter one or more email addresses in the text box (comma-separated). Give your email network a name, and click save.
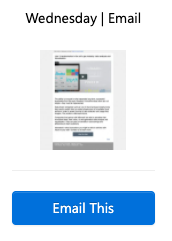
Choose an email template from your content channels, and click Email This. Make any desired edits to the template.
For help with editing emails, please contact our Client Success Team to set up a call.
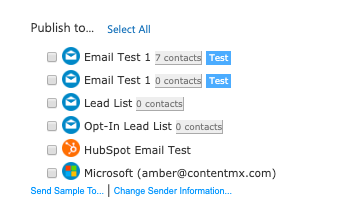
Under “Publish To,” select your HubSpot network. Click “Post.” On the next page, click “Confirm.”
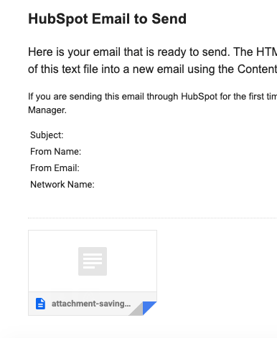
Look in your inbox for an email titled “HubSpot Email to Send.” Open the HTML attachment, and copy the full HTML code to your clipboard.
Recreate the email in HubSpot
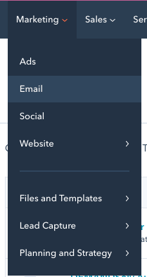
Visit Marketing > Email in your HubSpot account
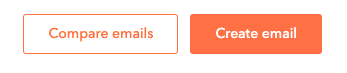
In the upper right corner, click Create Email
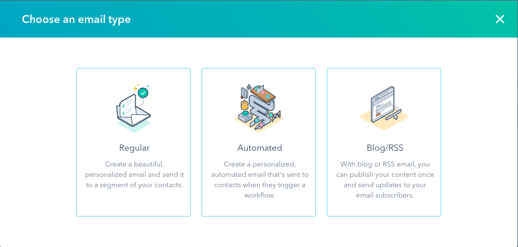
When prompted to choose an email type, select “Regular”
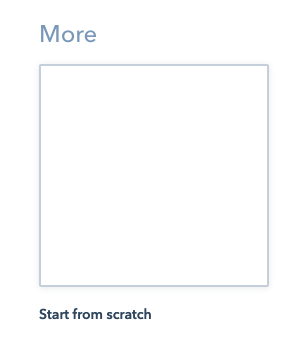
On the “Select a Template” screen, scroll down to “More” and select “Start from Scratch”
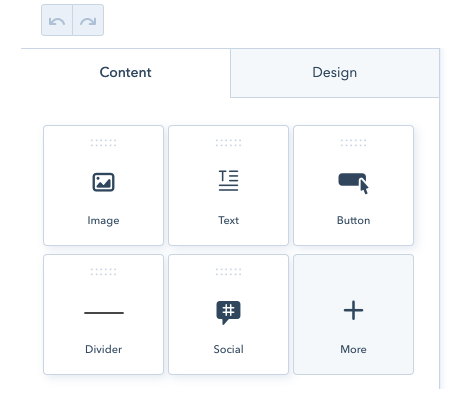
On the Drag and Drop screen, click “More”
Click and drag “HTML” to "Drop content here"
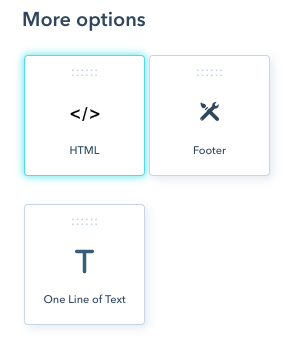

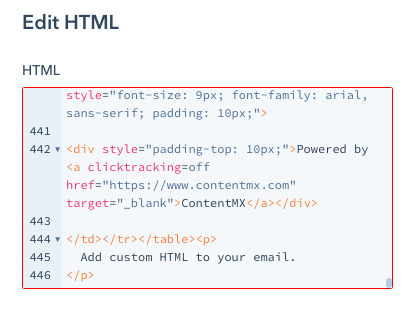
Under Edit HTML, delete any default text (such as “<p></p>”). Then, paste the full HTML from your ContentMX email attachment into this box. You will see an email preview appear on your screen.
Click Review and Send to add recipients and finish preparing your email.