It's important to set up and use a test list to see how your emails will appear, before you send them to your contact lists.
How to create a test email list
We use "network" and "email list" interchangeably in this article.
Log in and go to Manage Networks.
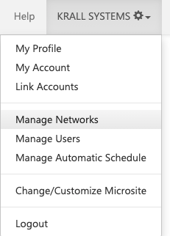
Under Email, select "Create Email List"

On the next page, check the box that says "This network is for testing purposes only." This will ensure that opens and clicks from your test emails will not be included in reporting.

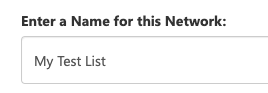
Give your network a name, and click Save.
Add contacts to your test email list
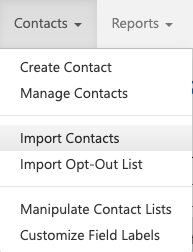
Go to Contacts > Import Contacts
Select your test email list from the dropdown menu.
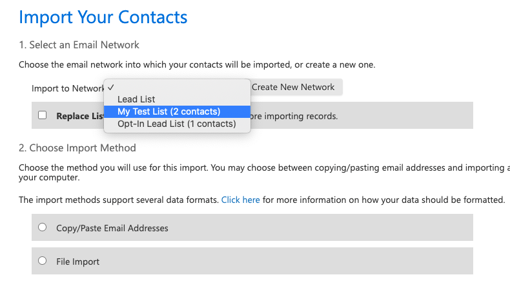
Choose the copy/paste import method, and add your desired email address(es). It's a good idea to add a work and personal email, and maybe a colleague's email address for a second opinion.
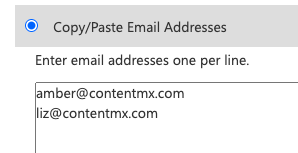
Click Submit Import.
Send an email to your test list
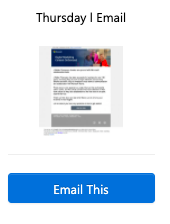
From any of your selected content channels, choose an Email This item (email template). Click Email This.
Under Publish To, select your test email list.

Click post to send the email to your test list. Review and confirm on the next page.

Ready to send the email to your contact lists?
Make sure you review and proofread the test email in your inbox before sending to your contacts! Remember to check the sender, reply-to address, subject line, and body text of the email.
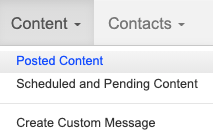
Go to Content > Posted Content.
Find the email that you sent to yourself as a test.
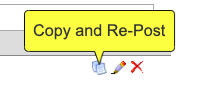
Click on the double-paper icon to Copy and Re-post the email.
Make any desired edits to the email body, subject line, reply-to address, etc.
Then, select your contact lists under Publish To, and schedule or send your email!
After you send your first email campaign, check your Activity by Email report for information on recipients, opens, clicks, and more.